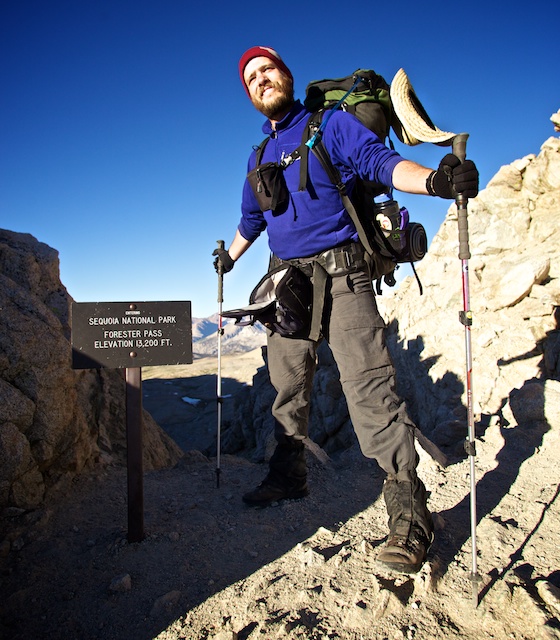
Editor's Note: The following is pulled from the journal that I kept while hiking the John Muir Trail this past month. I'll post each entry, each day, for the next few weeks.

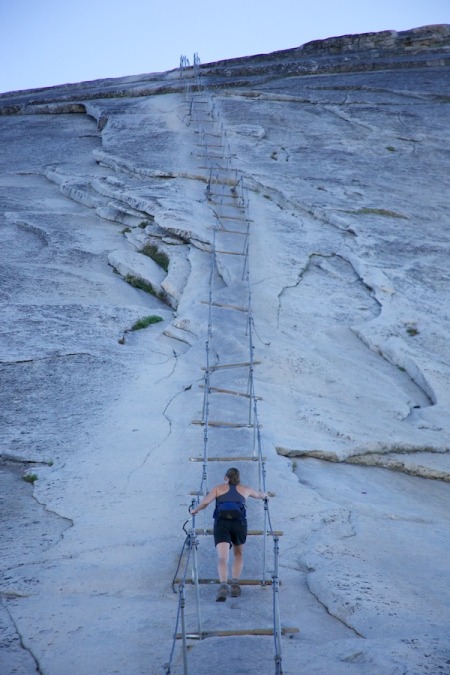
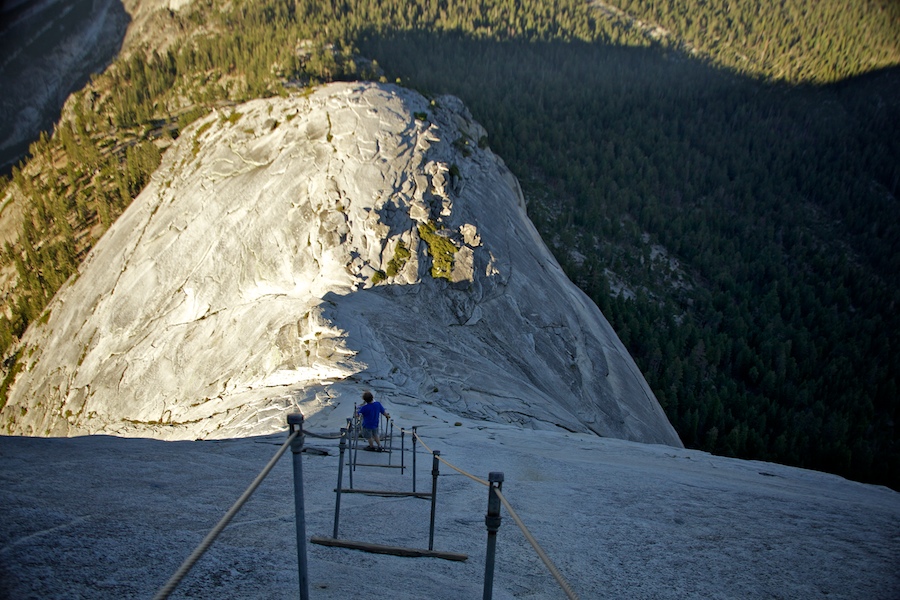
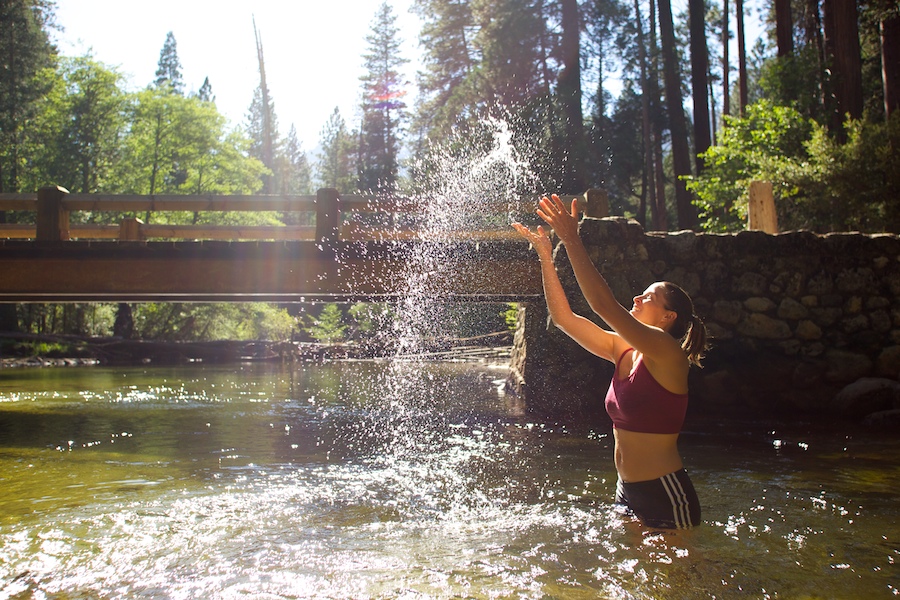
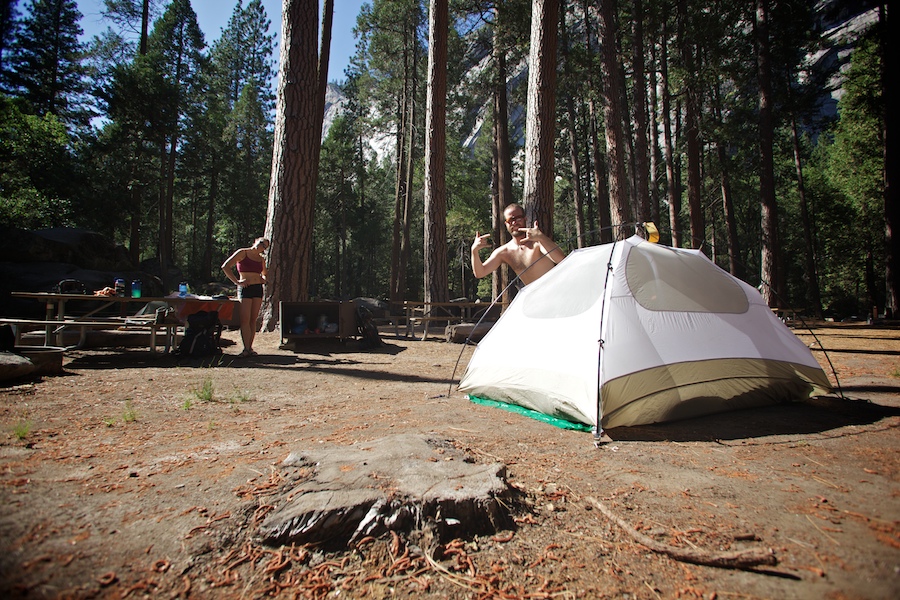
July 20th, Day 2 of hiking. Felt remarkably decent this AM. Tasty oatmeal. Broke a tent pole. Hiked back up to the Half Dome spur trail, then beyond into new territory. Amount of people quickly dropped. Began slow, moderate ascent, but felt pretty tired with big pack, and slow. Had short nothing of a nap at lunch, then even slower and weaker. Dunked bandana when I could, crisp and cold water heavenly! Kept boots on all day, but foot not too bad. Toe feels strong.
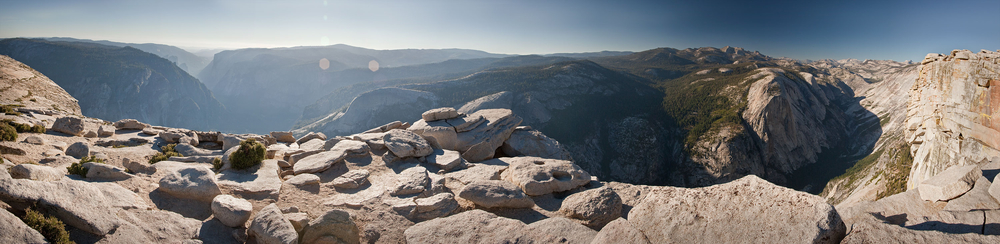
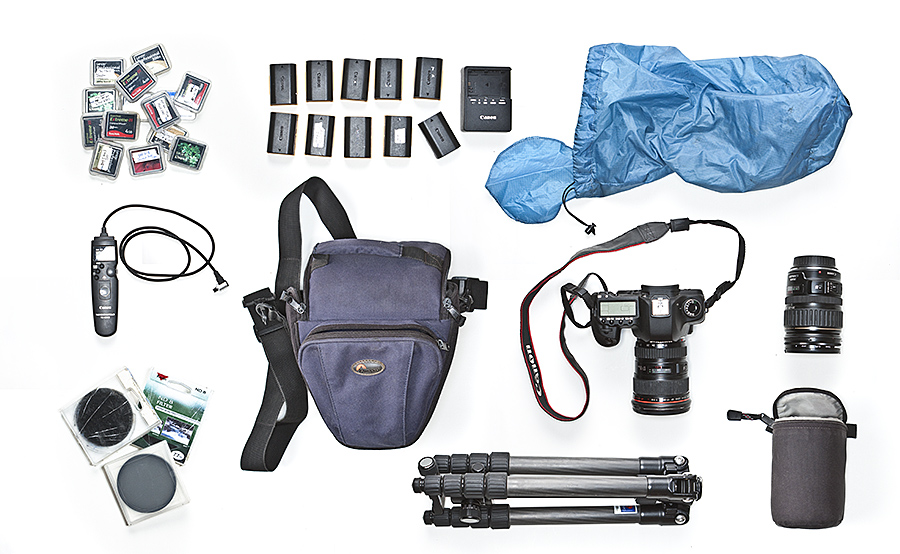
Hit steep section for last 2 miles or so, seemed longer. Very hot, slow, weak. Terrain amazing, better views as we ascended. Finally topped out and then dropped thru marshy meadows to finally a brook, where we found good camping with fire ring under a boulder. Had several hikers warn us of a bad bug stretch here, NO KIDDING. Worst mosquitoes I have ever encountered hiking, about as bad as the Mosquito Flats in Montana with Team D. Quickly suited up with long pants and rain jacket, assembled smoky fire, but still they attacked. Smoke helped. Rain jacket helped too, but left face as the vulnerable, exposed part. Sucked in a couple as I breathed. UNREAL. Went away as it got darker finally, allowing us to cook in peace. Rehydrated Tate's fruit leather tomato sauce, with cheese and pasta (and salami for me), and it was AMAZING! Such a good way to add wholesome ingredients to backpacking. Set up tripod and shot some stills of the great view nearby, then started timelapse of day/night transition. Then more night shots, stars, our camp. Shutter count at 1062 for first battery, and 26% or so. Good sign. Two days per battery will be perfect.
-llg

;)